Our "5 Benefits of Installing Landscape Lighting in Your Yard" Statements


DIY Guide to Setting up Landscape Lighting: Step-by-Step Instructions
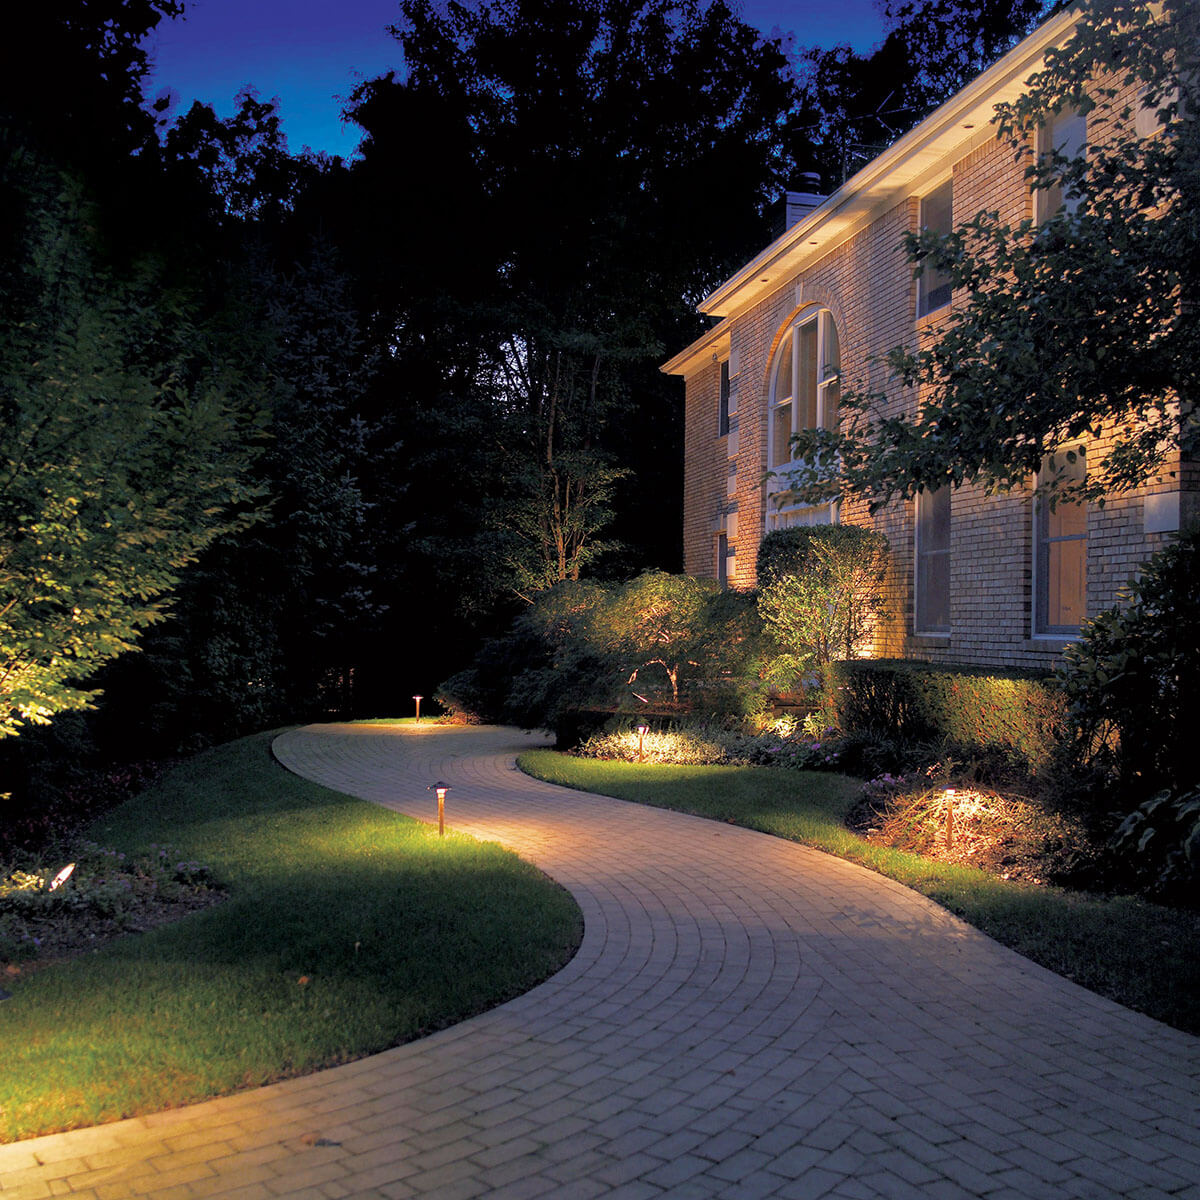
Adding yard lighting to your outside space can easily improve the beauty of your residential property, boost its worth, and provide additional safety. With the best tools and a little bit of know-how, you can easily effortlessly install garden illuminating yourself. In this guide, we will definitely deliver step-by-step instructions on how to put in yard lighting.
Action 1: Intend Your Lighting Design
Before you begin mounting your yard illumination, it is essential to develop a plan that summarizes where you want your illuminations set up. Look at the style of light components you want and their positioning. You may yearn for to highlight certain features of your home such as trees or architectural components or brighten walkways for safety and security.
Measure 2: Gather Tools and Materials
To finish this task successfully, you will certainly require some tools and materials. Listed here are some things you might look at buying:
- Lighting components
- Low-voltage transformer
- Garden wire
- Cable adapters
- Water-proof cord nuts
- Timer or photocell
- Staple weapon
- Screwdrivers
- Pliers
Measure 3: Put in Your Transformer
The transformer is an necessary part of any kind of outside illumination body as it transforms standard current in to reduced current for secure use outdoors. Locate an outside electrical electrical outlet at that point utilize the supplier's instructions to affix the transformer securely.
Step 4: Put Out Cable and Ports
Once your transformer is in spot, put out the cable along with the regions where you intend on installing each lightweight installation. Make use of cord adapters with water-resistant wire almonds to attach each fitting to the cord.
Action 5: Put in Your Light Fixtures
Currently happens time for installment. Making use of pliers and screwdrivers if important, position each fixture in its designated site making use of screws or stakes given through the manufacturer.
Step 6: Link Light Fixtures And Test The System
After placing all components appropriately currently is time to attach them effectively along with each other and the transformer. Currently you can easily examine the body to see if everything is working the right way. If Read More Here of issues come up, consult with the manufacturer's directions or a expert domestic electrician.
Measure 7: Prepared Up Timer Or Photocell
Ultimately, set up your timer or photocell to control when your illuminations transform on and off. A cooking timer allows you to established a certain opportunity for the lightings to switch on and off each day, while a photocell spots direct sunlight and transforms the lights on at twilight and off at sunrise.
Verdict
Congratses! You have properly put in garden illumination in your outside area using our step-by-step overview. Not merely will definitely it add elegance to your backyard, but it are going to additionally deliver additional security and safety and security for your residential property. Appreciate your brand new exterior illumination unit!